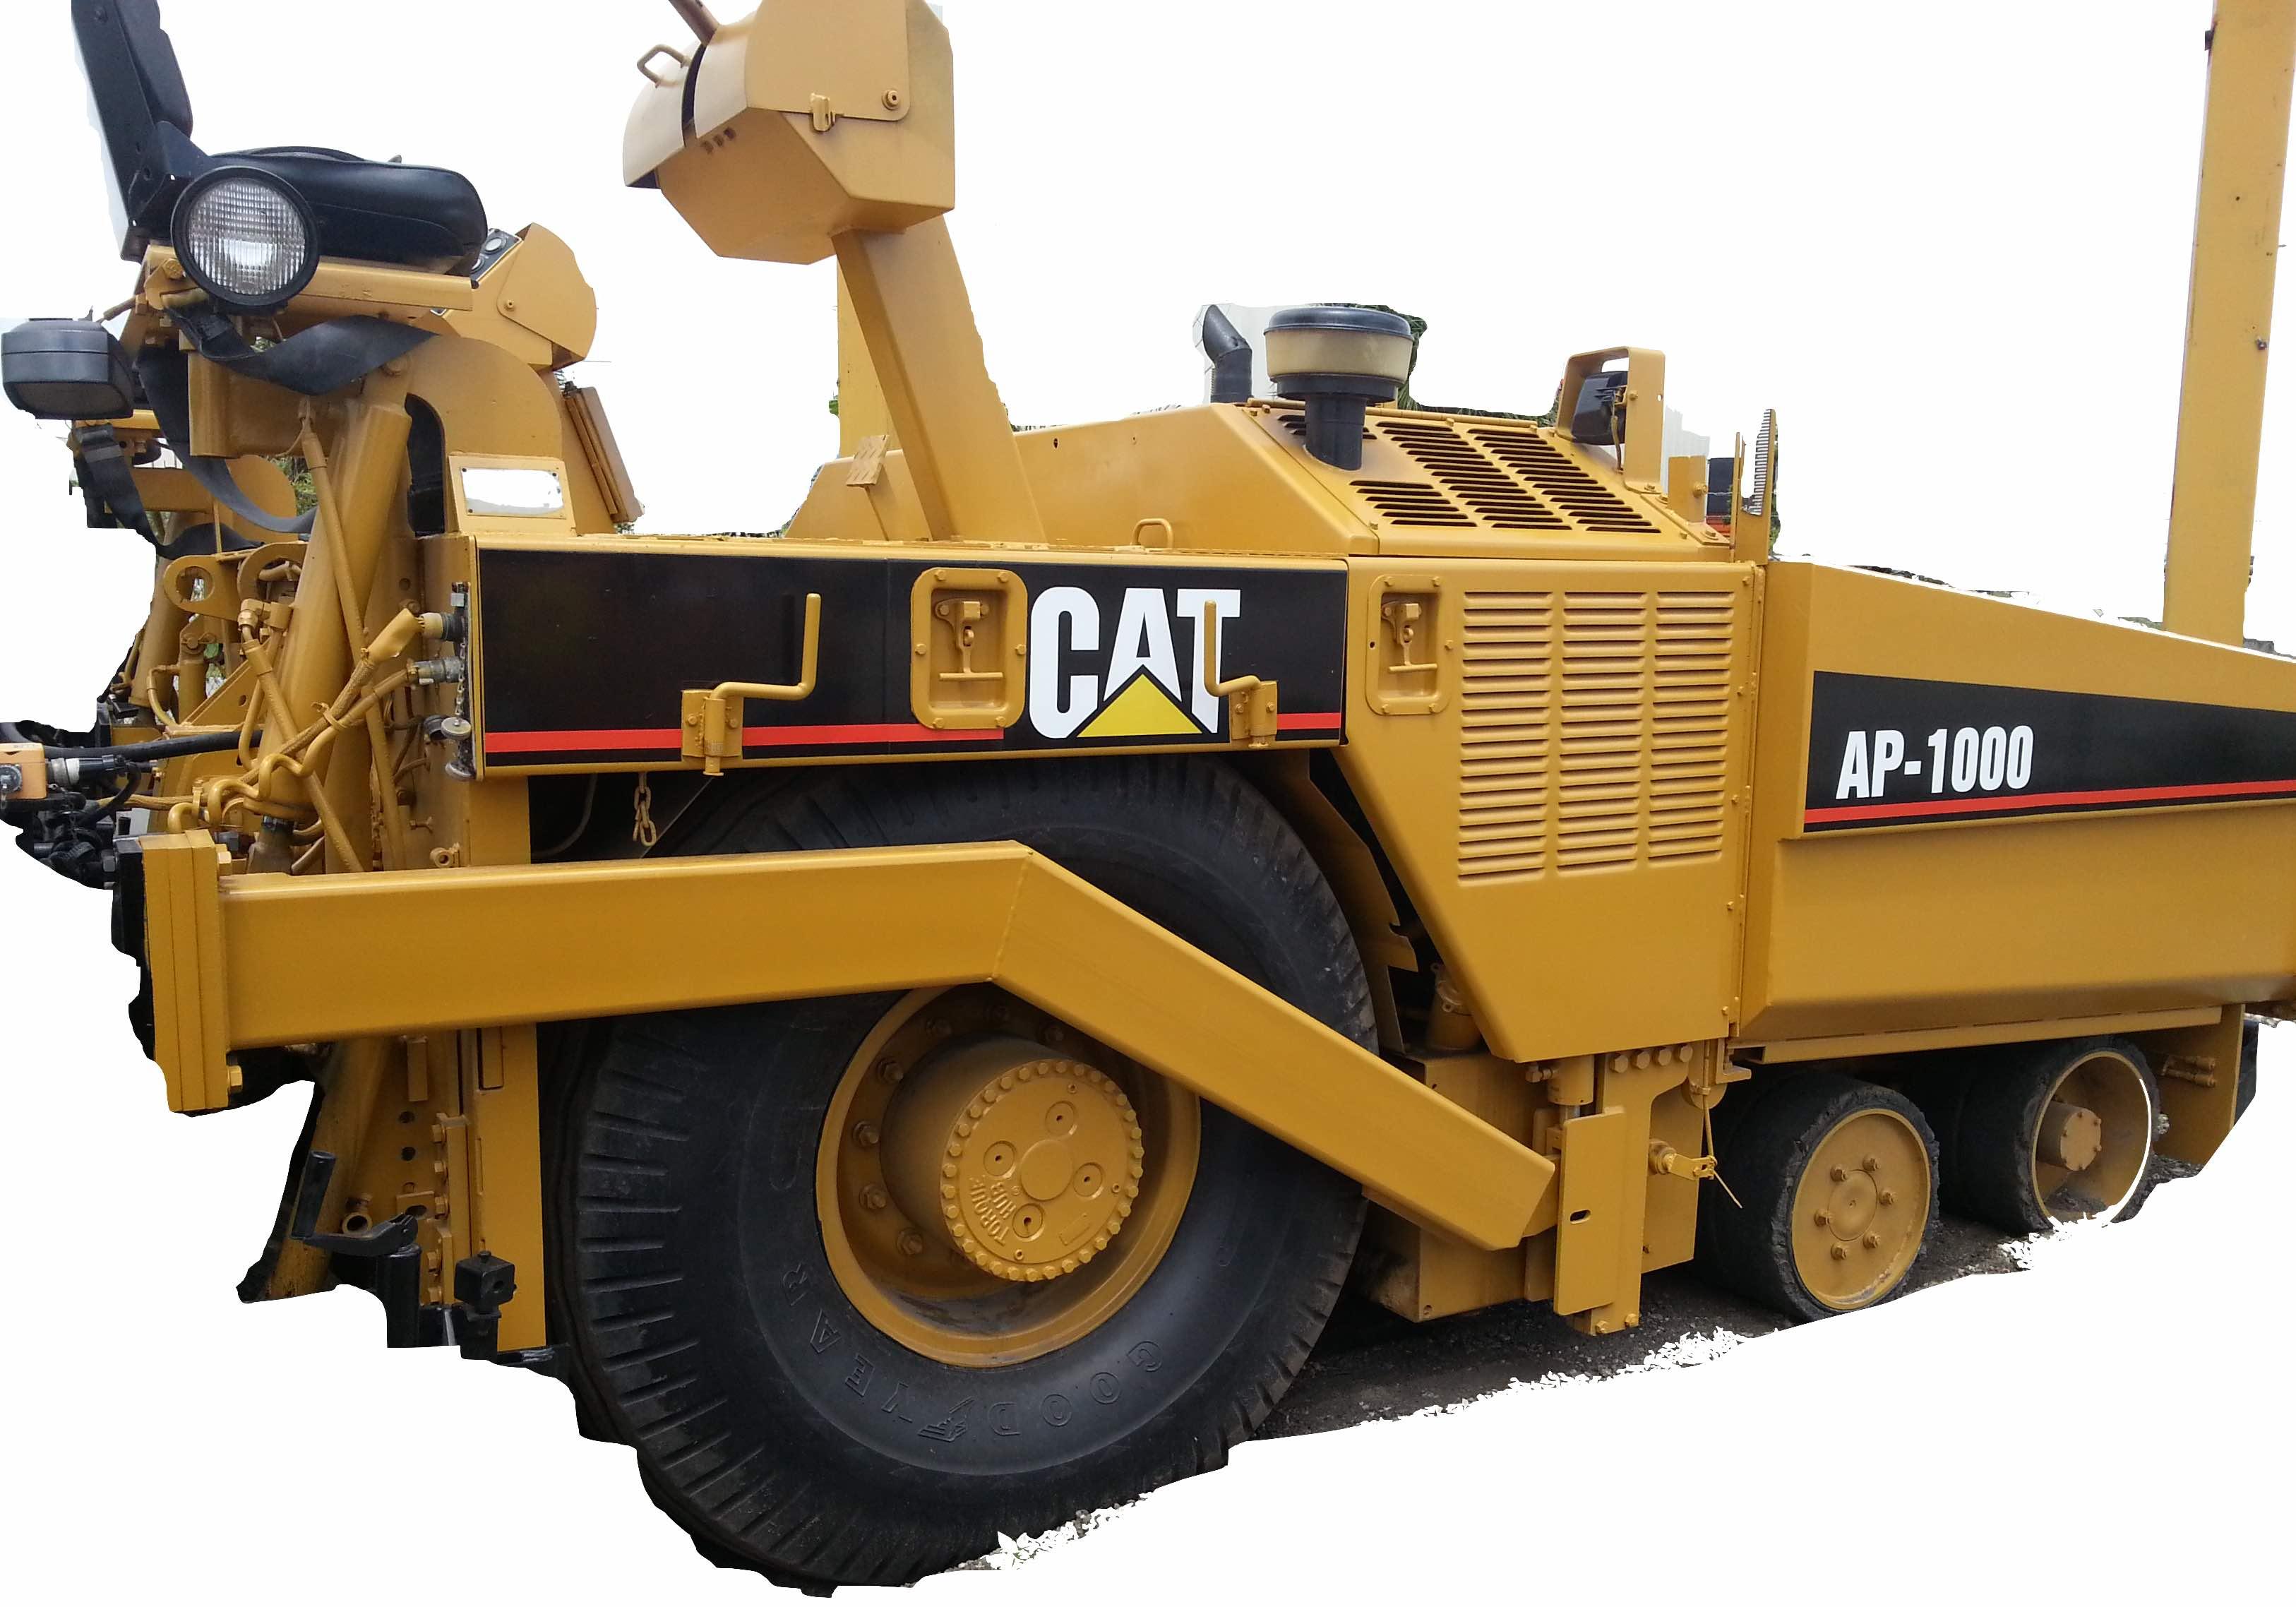
Caterpillar AP-1000 Asphalt Paver Factory Service & Shop Manual
Catalog:
Model:
Complete workshop & service manual with electrical wiring diagrams for Caterpillar AP-1000 Asphalt Paver. It's the same service manual used by dealers that guaranteed to be fully functional and intact without any missing page.
This Caterpillar AP-1000 Asphalt Paver service & repair manual (including maintenance, overhaul, disassembling & assembling, adjustment, tune-up, operation, inspecting, diagnostic & troubleshooting…) is divided into different sections. Each section covers a specific component or system with detailed illustrations. A table of contents is placed at the beginning of each section. Pages are easily found by category, and each page is expandable for great detail. The printer-ready PDF documents work like a charm on all kinds of devices.
MANUAL LIST:
KEBR1232 - Specifications (Asphalt Screeds)
KENR1572 - Specifications (AP-1000 Asphalt Paver Modular Auger Attachment)
KENR1699 - Specifications (AP-800B & AP-1000 Asphalt Pavers Front Wheel Assist Attach)
KENR1846 - Schematic (AP-1000 Asphalt Paver Hydraulic System)
KENR1847 - Disassembly & Assembly (AP-1000 Asphalt Paver Vehicle Systems)
KENR1848 - Schematic (AP-1000 Asphalt Pavers Electrical System)
KENR1849 - Disassembly & Assembly (3116 Engine Supplement for AP-1000 Asphalt Paver)
KENR1853 - Specifications (AP-1000 Asphalt Paver Ground Drive System)
KENR1856 - Specifications (AP-1000 Asphalt Paver Conveyor System)
KENR1857 - Specifications (AP-1000 Asphalt Paver Auxiliary Systems)
KENR1859 - Specifications (AP-1000 Asphalt Paver Vibration System)
KENR1873 - Disassembly & Assembly (AP-1000 Asphalt Paver Power Train)
KENR2526 - Specifications (10-20B Extend-A-Mat Screed)
KENR2527 - Disassembly & Assembly (10-20B Asphalt Screed)
KENR3072 - Specifications (AP-1000 Asphalt Paver Propel System)
KENR3074 - Specifications (AP-1000 Asphalt Paver Conveyor System)
KEBR1231 - Schematic (Asphalt Screeds, Hydraulic System, Fuel Burner System & Elec).pdf
KEBR1232 - Systems Operation (Asphalt Screeds).pdf
KEBR1232 - Testing & Adjusting (Asphalt Screeds).pdf
KENR1572 - System Operation (AP-1000 Asphalt Paver Modular Auger Attachment).pdf
KENR1572 - Testing & Adjusting (AP-1000 Asphalt Paver Modular Auger Attachment).pdf
KENR1699 - System Operation (AP-800B & AP-1000 Asphalt Pavers Front Wheel Assist Attach).pdf
KENR1699 - Testing & Adjusting (AP-800B & AP-1000 Asphalt Pavers Front Wheel Assist Attach).pdf
KENR1854 - Systems Operation (AP-1000 Asphalt Paver Ground Drive System).pdf
KENR1854 - Testing & Adjusting (AP-1000 Asphalt Paver Ground Drive System).pdf
KENR1856 - Systems Operation (AP-1000 Asphalt Paver Conveyor System).pdf
KENR1856 - Testing & Adjusting (AP-1000 Asphalt Paver Conveyor System).pdf
KENR1858 - Systems Operation (AP-1000 Asphalt Paver Auxiliary Systems).pdf
KENR1858 - Testing & Adjusting (AP-1000 Asphalt Paver Auxiliary Systems).pdf
KENR1859 - Systems Operation (AP-1000 Asphalt Paver Vibration System).pdf
KENR1859 - Testing & Adjusting (AP-1000 Asphalt Paver Vibration System).pdf
KENR2526 - Systems Operation (10-20B Extend-A-Mat Screed).pdf
KENR2526 - Testing & Adjusting (10-20B Extend-A-Mat Screed).pdf
KENR3074 - Systems Operation (AP-1000 Asphalt Paver Conveyor System).pdf
KENR3074 - Testing & Adjusting (AP-1000 Asphalt Paver Conveyor System).pdf
...
EXCERPT:
Conveyor Drive Chain Adjustment
Make reference to WARNING on first page of Testing And Adjusting.
Open top back panels to get to the conveyor drive chain.
Bolt Locations
(1) Right adjusting nut. (2) Right adjusting stud. (3) Right motor mounting frame. (4) Right mounting bolts. (5) Left mounting bolts. (6) Left motor mounting frame. (7) Left adjusting stud. (8) Left adjusting nut. (9) Right drive chain. (10) Left drive chain.
1. Locate the conveyor drive chain adjustment studs under the floor panels at the rear of the tractor near the operator control consoles.
2. To adjust right drive chain (9), loosen right mounting bolts (4) (two are shown to the rear of right torque hub, two more are located forward of the right torque hub).
3. Loosen the right jam nut on right adjusting stud (2). The jam nut is located under the top bracket of right motor mounting frame (3).
...


