Case CX800 Crawler Excavator Workshop Repair & Service Manual
Catalog:
Model:
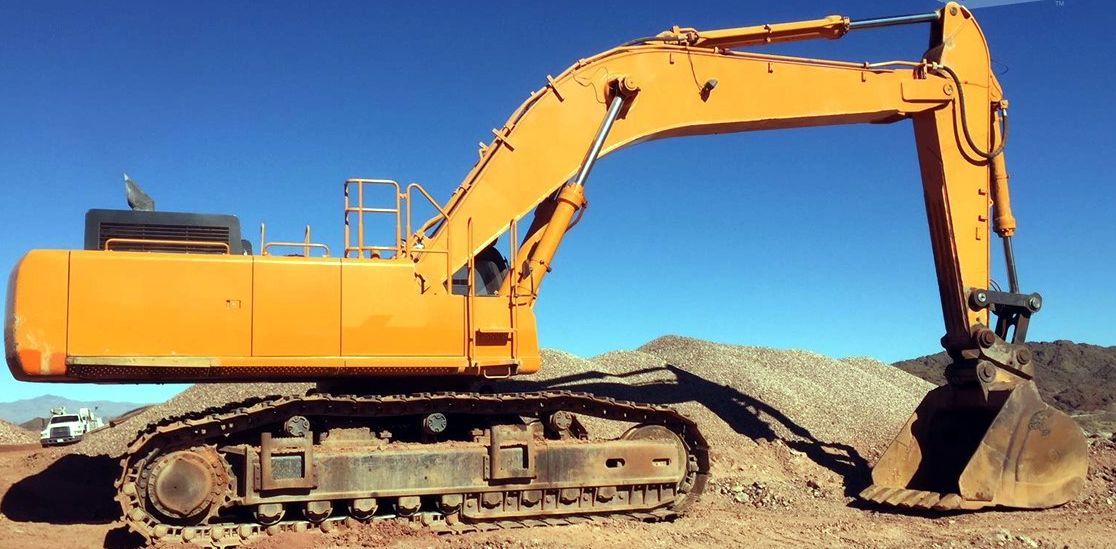
Case CX800 Crawler Excavator Workshop Repair & Service Manual
1,804+ pages, bookmarked, Searchable, Printable, high quality PDF
9-40290 - Pelles sur Chenilles CX800 MANUEL DE SERVICE (FR).pdf
9-40300 - CX800 Crawler Excavators Service Manual (EN).pdf
9-40310 - CX800 RAUPENBAGGER REPARATUR HANDBUCH (DE).pdf
Complete digital official shop manual contains service, maintenance, and troubleshooting information for the Case CX800 Crawler Excavator. Diagnostic and repair procedures are covered in great detail to repair, maintain, rebuild, refurbish or restore your Case CX800 like a professional mechanic in local service/repair workshop. This cost-effective quality manual is 100% complete and intact as should be without any missing pages. It is the same factory shop manual used by dealers that guaranteed to be fully functional to save your precious time.
This manual for Case CX800 Crawler Excavator is divided into different sections. Each section covers a specific component or system and, in addition to the standard service procedures, includes disassembling, inspecting, and assembling instructions. A table of contents is placed at the beginning of each section. Pages are easily found by category, and each page is expandable for great detail. It is in the cross-platform PDF document format so that it works like a charm on all kinds of devices. You do not need to be skilled with a computer to use the manual.
EXCERPT:
Install the locking bushings (4). Install the screws (3) through the locking bushings and the pin. Using a set of feeler gauges, check that there is a clearance of 1
to 2.5 mm between the mounting bracket and the cylinder rod mounting eye. If necessary, remove the screws and the pin and add or remove one or more shim(s) as required to obtain the correct clearance.
Install the pin and the screws. Install the first nut (2) on the screw and tighten until the nut touches the locking bushing. Loosen the nut a quarter of a turn and, using two wrenches, install the second nut (2) to lock the first nut in position. Remove the sling from the boom cylinder.
...


